|
|
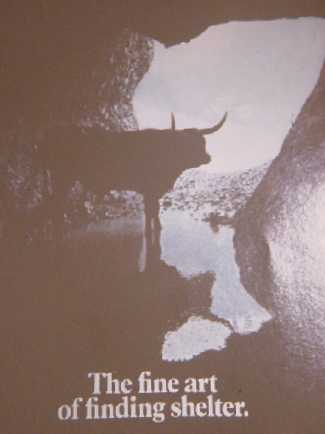
In most survival situations, shelter should be your first concern. Shelter not only provides the necessary protection from heat, cold, wind or rain, but also serves as a base of operations and provides a boost to morale against the deteriorating affects of noises in the night. |
Prior to building the shelter it is important to choose the proper location:
|
|
|
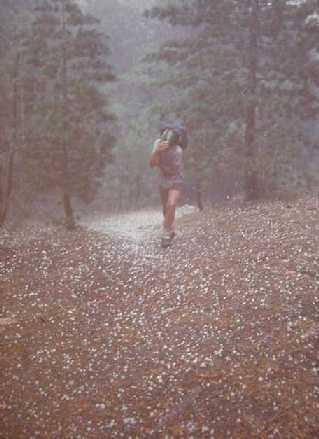
In building your shelter, give some thought to possible changes in the weather. On one of my courses, the students were complaining about the heat as we hiked on the desert side of the San Bernardino mountains in Southern California. Just a few hours later we were hit by this sudden hail storm. |
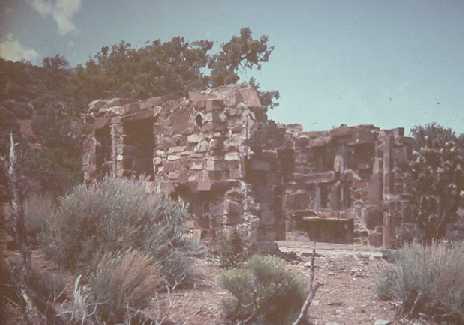
| These ruins in the desert northwest of Las Vegas would give you a big head start on a shelter. Add a tarp and you've got snug protection from the elements. A fire can be built for warmth at night: its heat would reflect off the stone walls. |
|
|
A shelter can be natural (cave) or constructed. It can be simple (lee side of a log) or extravagent (lean-to). Ask yourself, "How much energy will I use in relation to the quality of shelter afforded?"
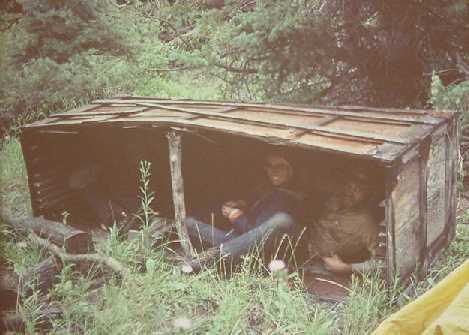
These students were fortunate enough to find an abandoned shipping crate, which gave them instant shelter from a sudden rain. |
| You must ask yourself "what poses the biggest threat to my well being?" This young man needed shelter from the rain more than shelter from the cold. He and his companion used their space blankets to make a waterproof roof for the lean to which they fashioned from downed timber. The fire provided additional comfort and, more importantly in this case, a boost to morale. |
|
|
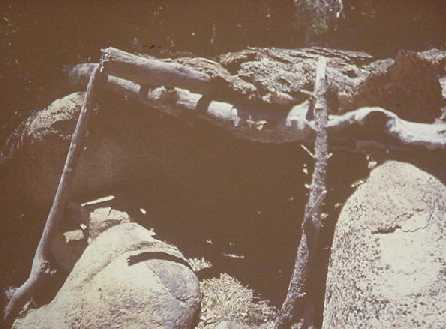
Large pieces of bark were used to roof this shelter. The large rock sides will absorb heat all day, then radiate that heat throughout the night providing warmth. |
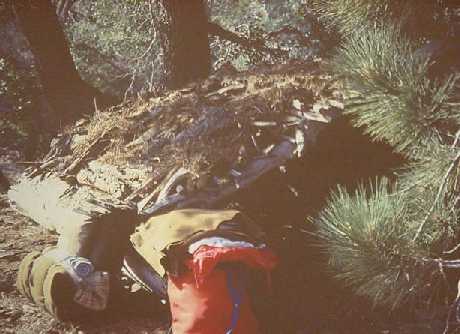
| This young man built his shelter from logs and branches, and covered it with pine needles. (The roof will need to be about one foot deep layer of pine needles to provide adequate protection from rain.) |
|
|
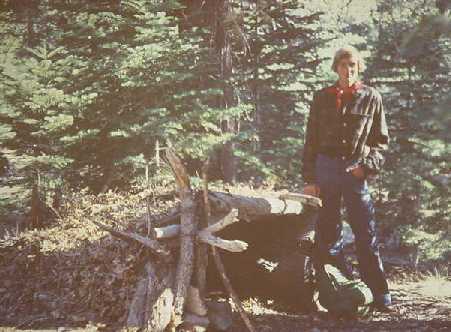
Here's another excellent shelter using local materials. A log was used for one side, providing excellent wind protection. A large rock was used for the other side. The roof is a pine frame covered with pine needles and other debris. |
| This shelter is made from pine boughs. These can be shingled fairly easily to provide protection from rain. A folding saw or swiss army knife with a saw can be invaluable in collecting shelter materials in an emergency. |

|
|
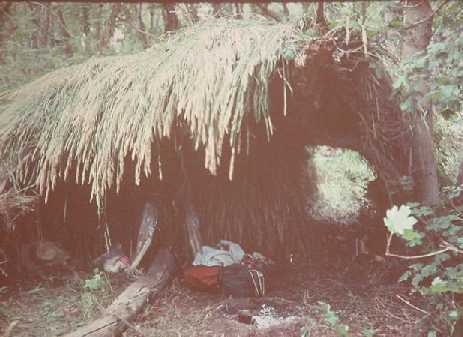
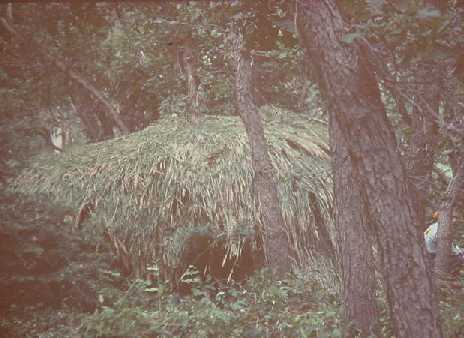
Here's a very extravagant shelter built by a group of three students. The area had an abundance of long grass which was easily harvested. Notice the covered patio cooking area. |
| Another view of the grass palace. Notice the person sitting at the right side of the picture. This thing was huge! |
|
|
Copyright © 2002 by Bill Qualls. Last updated August 22, 2003.
Back to Bill's survival page. |